When embarking on a tile installation project for complex spaces, one of the most critical elements to ensure the job is done right is the tile shop drawing. These drawings serve as a blueprint that guides the entire installation process, detailing the layout, dimensions, and placement of tiles to ensure accuracy, efficiency, and aesthetic appeal.
For designers, contractors, and architects working with intricate or non-standard spaces—such as curved walls, high-ceiling areas, or spaces with unique design features—shop drawings become even more essential.
Industry experts agree that thorough, well-crafted tile shop drawings can save time, reduce errors, and minimize costly rework. But how do you approach the creation of such drawings in complex spaces? What are the tips and best practices that professionals rely on to overcome the challenges these spaces present?
In this article, we’ll explore expert advice on creating tile shop drawings for complex projects, highlighting common pitfalls to avoid, key considerations to keep in mind, and innovative techniques that can streamline the process.
Whether you're working on a luxury hotel, an art gallery, or any space with intricate tile requirements, these insights will guide you in creating precise and effective drawings that ensure the success of your installation.
Understanding Shop Drawings for Tiles
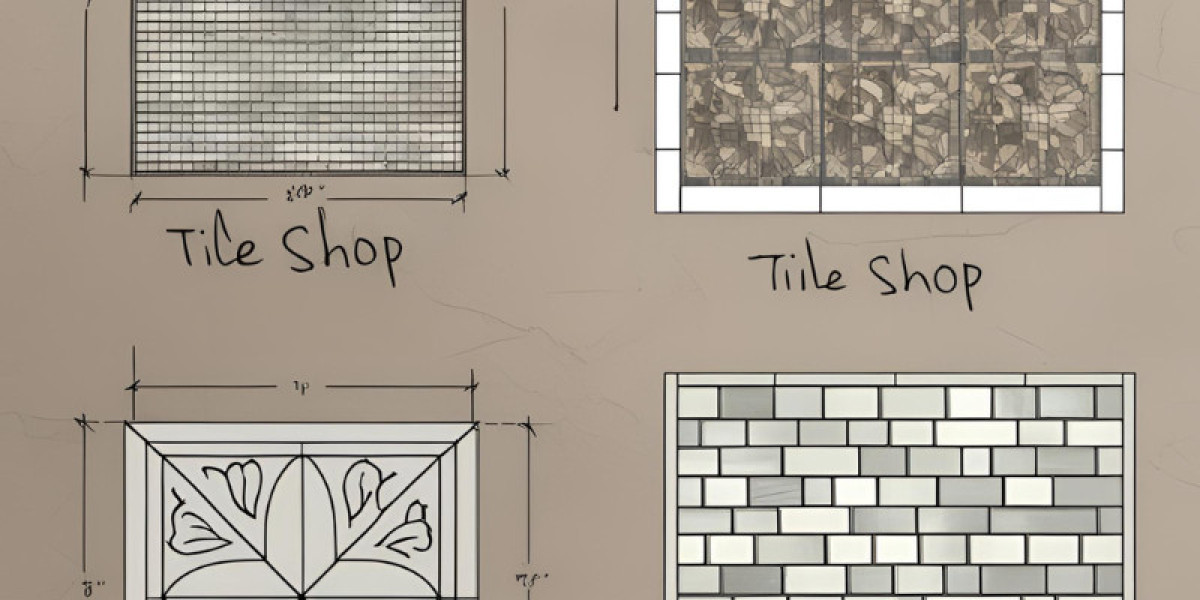
Shop drawings for tiles are detailed plans created by designers, contractors, or manufacturers to show how tiles will be installed in a building project. These drawings provide specific instructions that ensure the tiles are placed correctly and fit perfectly. They are an essential part of the construction process, especially for projects where precise tile patterns or designs are important.
Shop drawings for tiles include information about the size, type, color, and layout of the tiles. They also show how the tiles will be arranged, which grout lines will be used, and any special cuts or shapes needed to fit around corners or obstacles. These drawings can also indicate the type of adhesive or installation methods that should be used.
The Challenges of Complex Spaces
Complex spaces can present a variety of challenges, especially when we try to understand or navigate them. These spaces are often multifaceted, meaning they have many different parts that are connected in complicated ways. In both physical and abstract forms, complexity can make it difficult to predict behavior or outcomes. For example, in cities, a complex space might be a busy intersection, where many roads, people, and vehicles interact. Navigating such a space requires attention to all these moving parts and an understanding of how they affect one another.
In abstract or theoretical contexts, like mathematics or science, complex spaces often involve many variables and relationships that are not easy to see at first. Understanding how these components work together can be overwhelming. For instance, in the study of geometry or physics, scientists deal with complex spaces where multiple dimensions or forces interact in unexpected ways. Visualizing these spaces or even finding a way to describe them simply can be a difficult task.
Tips for Creating Tile Shop Drawings for Complex Spaces
Creating tile shop drawings for complex spaces requires careful planning and attention to detail. These drawings are crucial for ensuring that tiles are laid correctly, fitting the design and structure of the space. Here are some tips to make the process smoother:
Understand the Space: Before starting the drawing, take measurements of the space, including walls, floors, and any features like windows or doors. This will help you create a drawing that matches the actual space.
Choose Tile Layout: Decide how you want the tiles to be arranged. In complex spaces, consider whether the tiles will be laid in a grid pattern, diagonal, or custom design. A clear layout helps avoid mistakes during installation.
Plan for Cuts and Edges: In irregular spaces, there will be areas where tiles need to be cut. Mark these areas clearly on the drawing to ensure that cuts are precise and fit the design.
Account for Grout Lines: Include the size of grout lines in your drawings. This small detail can affect the overall appearance and fit of the tiles.
Detail Each Area: Break down the space into smaller sections, especially if it has different heights, angles, or surfaces. Show each section with its own tile layout for clarity.
Use Scaled Drawings: Make sure your drawings are to scale so that the tiles will fit correctly when placed in the actual space.
By following these tips, you can create accurate and effective tile shop drawings that will guide the installation process, ensuring a smooth and professional result.
Common Mistakes in Tile Shop Drawings for Complex Spaces and How to Avoid Them
When working on tile shop drawings for complex spaces, it's essential to avoid common mistakes that could lead to poor installation, mismatched aesthetics, or costly revisions. Here are some of the most frequent errors and tips on how to avoid them:
1. Incorrect Measurements
Mistake: Not taking accurate measurements or neglecting to account for irregularities in the space can result in tiles not fitting correctly.
How to Avoid: Always double-check measurements and ensure the space is squared. If the room is not a perfect square, adjust your layout to accommodate the angles and compensate for any discrepancies. Consider using laser measuring tools for higher precision.
2. Inadequate Layout Planning
Mistake: Jumping into tile layout without careful planning can lead to awkward tile cuts and poor aesthetics.
How to Avoid: Start by planning the layout on paper or software, ensuring that the tiles are balanced across the entire space. Consider using a grid system, and make sure important features like focal points (e.g., a centerline, fireplace, or feature wall) align with tile patterns.
3. Ignoring Expansion Gaps
Mistake: Not leaving adequate expansion gaps at the perimeter of the room can cause the tiles to buckle or crack due to temperature changes or moisture fluctuations.
How to Avoid: Include expansion gaps between the tile and walls or other fixed objects. Follow the manufacturer's guidelines regarding the required gap size, typically between 1/8" and 1/4".
4. Improper Tile Size and Proportions
Mistake: Using tile sizes that don’t fit the proportions of the space can disrupt the flow of the design or create an uncomfortable visual effect.
How to Avoid: Choose tile sizes that complement the scale of the room. In smaller spaces, smaller tiles (like mosaics) can make the area feel larger, while larger tiles can create a more open feel in spacious areas.
5. Not Considering Tile Direction and Pattern
Mistake: Failing to account for how tiles will look when laid in different directions can lead to mismatched or disorienting designs.
How to Avoid: Plan the orientation of the tiles carefully. Consider the pattern (e.g., herringbone, grid, diagonal) and how the direction of the tiles will affect the visual flow of the space. Mark the layout in advance to visualize the final effect.
6. Overlooking Transition Details
Mistake: Not planning for smooth transitions between different flooring materials or tile borders can create abrupt, jarring changes in the design.
How to Avoid: Ensure that transitions between tile and other materials (wood, carpet, or concrete) are addressed in the drawing. Use transition strips or gradual tile cuts to create a seamless transition between spaces.
7. Not Accounting for Tile Thickness
Mistake: Overlooking the tile thickness can affect the height difference between the tile and adjacent surfaces, such as adjacent flooring or cabinetry.
How to Avoid: Account for the tile thickness when designing the space. Adjust the subfloor or use thinner tiles in places where necessary to maintain a consistent level with surrounding surfaces.
The Final Thought
Creating tile shop drawings for complex spaces is an essential step in ensuring a successful tile installation. With careful planning and attention to detail, these drawings serve as a vital tool to avoid costly mistakes and ensure a smooth installation process. By taking accurate measurements, selecting the appropriate tile layout, and considering crucial factors like grout lines, cuts, and expansion gaps, professionals can create a precise guide for the entire project.
Avoiding common mistakes such as improper tile sizing, inadequate layout planning, and overlooking transition details will ensure that the final result is both aesthetically pleasing and functional. The key to success lies in understanding the intricacies of the space, using scaled drawings, and planning thoroughly in advance.
By following these expert tips, designers, contractors, and architects can effectively navigate the challenges posed by complex spaces and deliver high-quality, professional tile installations. Whether working on residential or commercial projects, the importance of well-crafted tile shop drawings cannot be overstated—it's a blueprint for ensuring precision, reducing errors, and achieving the desired outcome.