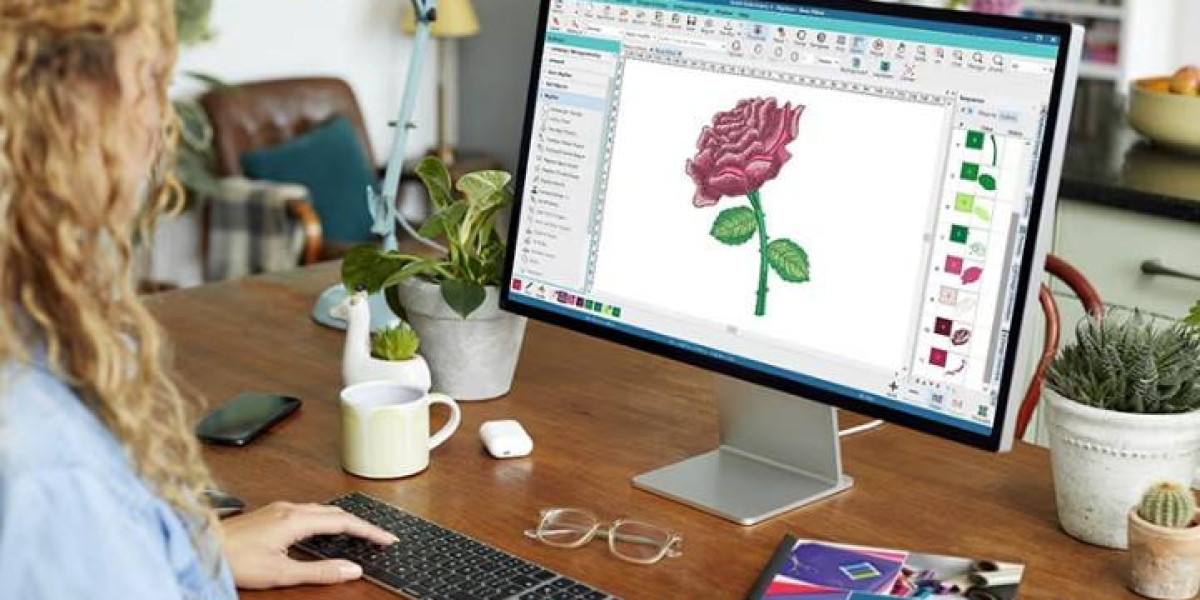
You have a logo you love, and you're envisioning it stitched onto hats, polo shirts, and jackets. The journey from a digital image to threaded perfection begins with a crucial step: you need to Convert Logo To PES Embroidery File. This isn't a simple "save as" command; it's a specialized process called digitizing, where your design is translated into a language of stitches that your Brother embroidery machine can understand. Getting this step right is the single most important factor between a professional, eye-catching emblem and a puckered, disappointing mess. By following a few key best practices, you can ensure that your stitched logo looks as crisp and vibrant as it does on your screen.
Flawless embroidery doesn't happen by accident. It's the result of careful preparation, technical understanding, and sometimes, knowing when to call in an expert. Whether you're a business owner creating branded gear or a hobbyist tackling a new project, these guidelines will set you up for success and help you avoid common, costly mistakes.
Start with the Right Source File: Your Blueprint for Success
The quality of your final stitched logo is directly tied to the quality of the file you provide. You can't create a masterpiece from a blurry sketch. This is your first and most critical best practice.
The Gold Standard: Vector Files
Always provide a vector file if you have one. Formats like .AI (Adobe Illustrator), .EPS, or .SVG are ideal. Vector graphics are built using mathematical paths, not pixels. This means they can be scaled up or down infinitely without losing any clarity or becoming blurry. For a digitizer, a vector file is a perfect, crisp blueprint. They can easily see every curve and corner, making their job of tracing the design with stitches accurate and efficient.
The Acceptable Alternative: High-Resolution Raster Files
If a vector file truly isn't available, your next best option is a high-resolution raster file. Raster images (like .JPG and .PNG) are made of pixels. Aim for a minimum of 300 DPI (dots per inch) and ensure the image dimensions are at least as large as you want the final embroidery to be. A small, low-resolution logo will become a pixelated, blurry nightmare when enlarged, forcing the digitizer to guess at the details.
What to Avoid: Low-Resolution Images
Never use a 72 DPI image pulled from your website. These are designed for screen viewing and lack the detail needed for conversion. Providing a poor-quality image is the fastest way to guarantee a poor-quality embroidery result.
Choose Your Conversion Method Wisely: DIY vs. Professional Service
This is the crossroads where most projects succeed or fail. You have two main paths, and your choice here will majorly impact the outcome.
The Professional Digitizing Service (Recommended Best Practice)
This is the most reliable path to a flawless stitch-out. You send your high-quality logo to a skilled digitizer. They use professional software and their expertise to manually create your PES file, making countless technical decisions along the way.
Why it works: They add essential underlay stitches to stabilize the fabric and prevent puckering. They apply pull compensation to counteract the thread's natural pull on the fabric, ensuring your circles stay circular. They choose the optimal stitch types (satin for text, fill for backgrounds) and stitch directions to create depth and texture.
Best for: Businesses, anyone prioritizing quality, and those without the time or desire to learn complex software.
The DIY Software Route (Proceed with Caution)
This path involves purchasing digitizing software (like Embrilliance or Hatch) and learning to convert the logo yourself.
The Challenge: Digitizing is a skilled craft with a steep learning curve. It requires an understanding of how stitches interact with different fabrics. The auto-digitizing functions in these programs are better than free online converters but still often produce subpar results that require significant manual tweaking.
Best for: Hobbyists who are passionate about learning the entire process and plan to digitize frequently.
The "Just Don't" Option: Free Online Converters
Avoid free online conversion tools at all costs. They use automated algorithms that generate stitch files without any understanding of embroidery physics. They ignore underlay, misapply stitches, and create files that almost always lead to puckering, thread breaks, and distorted designs. That "free" conversion will cost you more in wasted garments and frustration.
Provide Crucial Information to Your Digitizer
If you choose a professional service (which we highly recommend), your job isn't just to upload a file. To get the best results, you need to provide context. Think of your digitizer as your partner. The more they know, the better they can serve you.
A good digitizing service will ask for these details. Providing them upfront is a best practice that prevents delays and revisions:
Garment Type: What are you stitching on? A stiff baseball cap, a stretchy polo shirt, or a thick towel? Each fabric behaves differently and requires unique digitizing adjustments.
Desired Size: Specify the exact width or height you want the embroidered design to be. This ensures the digitizer sets the density appropriately.
Special Requests: Are there any specific elements you want to emphasize? Should any small text be simplified for clarity? Now is the time to say so.
Test and Refine: The Final Check
The work isn't done once you receive the PES file. The final best practice is to always do a test stitch-out.
Use a Similar Fabric: Hoop a scrap piece of the same fabric you'll be using for the final product.
Stitch It Out: Run the machine and watch the design come to life.
Inspect the Results: Check for any issues like puckering, gaps in stitching, or distorted shapes.
A reputable digitizing service will offer free minor revisions. If something isn't perfect, send them feedback and a picture of the test stitch. They can tweak the file to achieve flawless results. This iterative process is standard among professionals and ensures complete satisfaction.
Conclusion: Invest in the Foundation for Flawless Results
Converting your logo to a PES embroidery file is the foundation of your entire project. A weak foundation leads to failure, no matter how expensive your machine or thread is. By following these best practices—providing a high-quality source file, partnering with a professional digitizing service, communicating your needs clearly, and testing before your final run—you invest in a flawless outcome.
You ensure that your logo is represented with the professionalism and quality it deserves. You save money on ruined materials and save yourself the headache of troubleshooting. Remember, a perfectly digitized PES file is not an expense; it's an investment in your brand's image and your peace of mind. Now that you know the best practices, you're ready to convert logo to PES embroidery file with confidence.


